Images and Opencv
OpenCV or Open source computer vision is a library written in C++ although for the purpose of this notes we are going to use the python bindings.
Importing and possible errors
To import the library we can use cv2
now to load an image we need to have the correct path to it, otherwise we can generate an error that will be difficult to fine. If for some reason we add the wrong path, we wont get an error message instead None
now, lets load from a correct path
imread gave me a Numpy.narray with 3 color channels
Color Correction
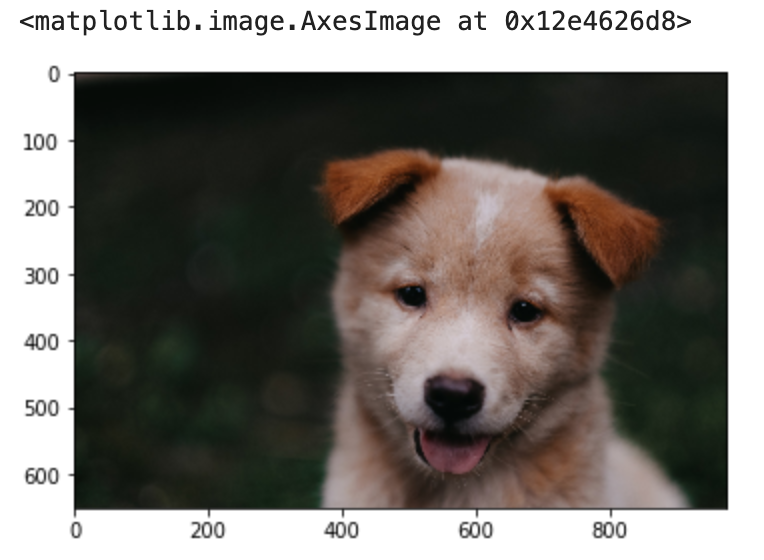
Now that we have the correct image, or rather the correct path, we have the image loaded, but when we display it
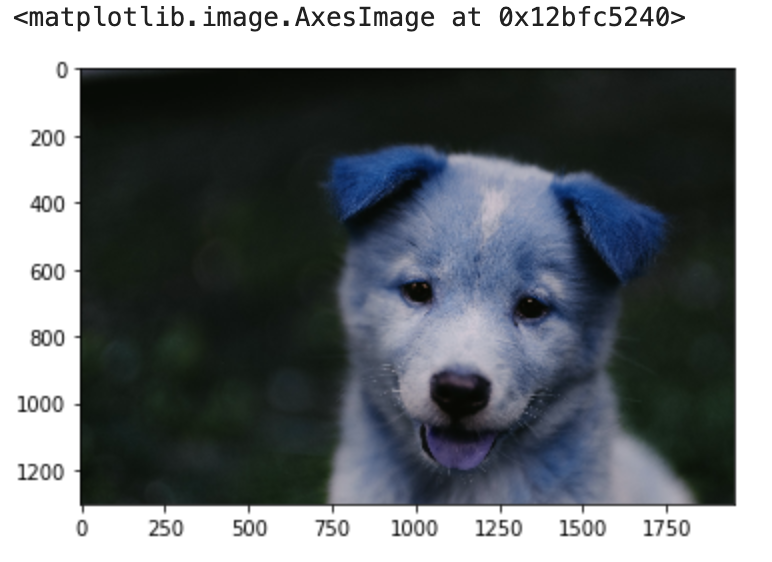
The image has been correctly loaded by openCV as a numpy array, but the color of each pixel has been sorted as BGR. Matplotlib's plot expects an RGB image so, for a correct display of the image, it is necessary to swap those channels
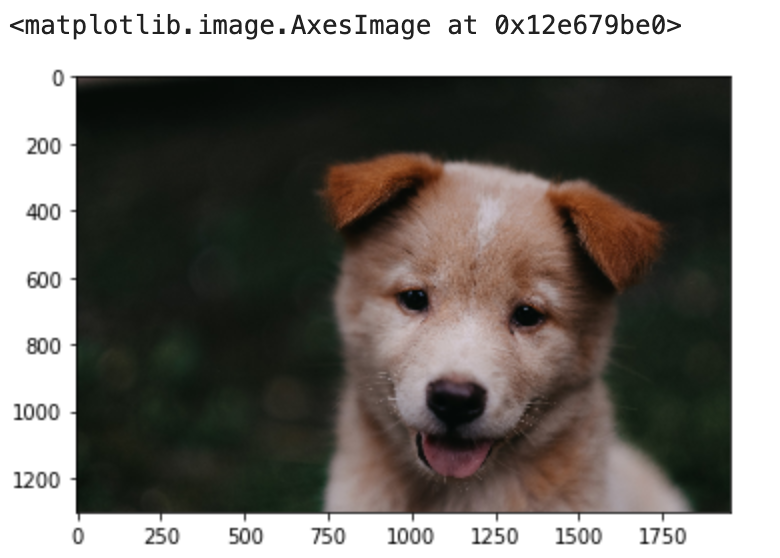
for this, we can use a build-in function
in this case we are going to use cvtColor to transform from BGR to RGB, we pass first the image img, later the type of conversion cv2.COLOR_BGR2RGB
Load Image to a Specific Color Map
We can use opencv to load an image to a specific color channel, in this case we want to import it as a gray scale image
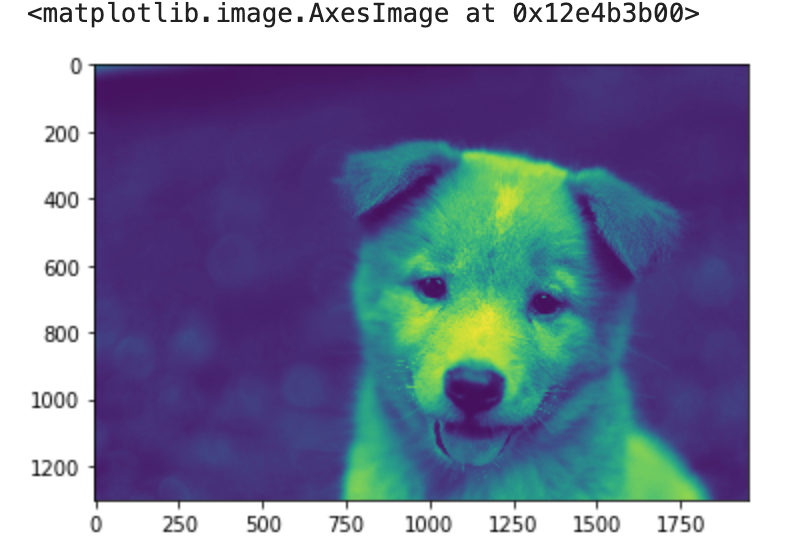
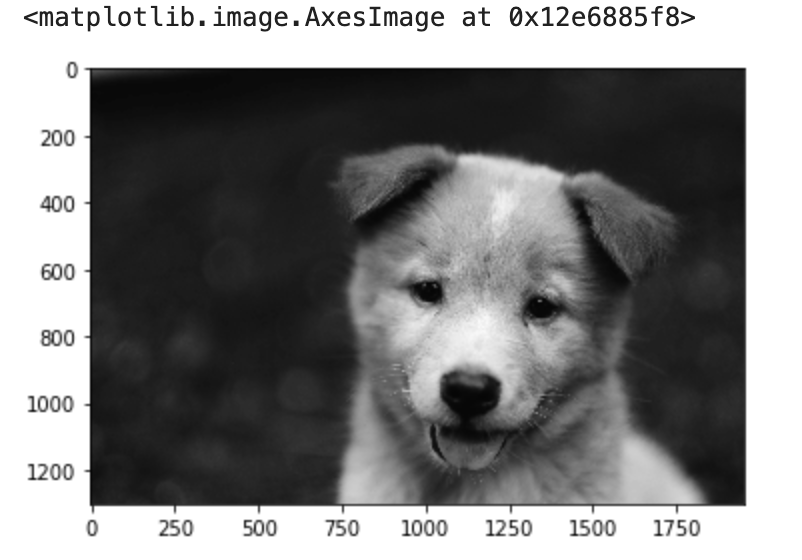
so in this case we have have the default color mapping but this is not the gray scale we wanted, we need to be specific to plt to map the image to gray-scale
Resizing and Flipping the Image
First we need to remember what is the shape of the image
now, we can use resize to change the size of the image
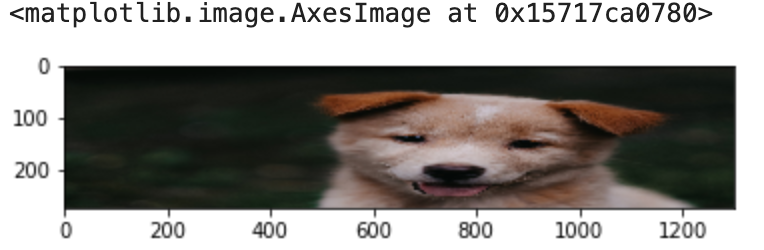
By Ratio
Here we will use the ratio
Flipping Images

Saving Image Files
Keep in mind, the above stored the BGR version of the image.Drawing Images
We start by making a canvas, we are going to create an array that will serve as it.